I hosted the mummy unwrapping event at Jeff Mach’s The Steampunk World’s Fair in Piscataway, New Jersey this past May. Hoping that it will start a trend at other Steampunk Conventions, I’m posting the step-by-step process for building the mummy, as well as my experience in running the show.
Inspiration
The Victorians went through a wave of Egypt-mania. That’s why in many Victorian-era designs we see shades of Egypt (hieroglyphs, the lotus, the winged-orb, etc.). This Egyptian influence found it’s way into literature, art, architecture, design, and the study of the occult. At the height of this mania Egyptian mummies were imported to England by rich Victorians to unwrap at parties.
You can find an actual Victorian-era account of unwrapping a mummy at “The Unwrapping of a Mummy” by Theophile Gautier.
Making the mummy
Since the importation of an Egytian corpse is illegal and immoral (and icky) I had to make my own. Here’s complete list of supplies that I used:
- 2 8-foot lengths of ¾-inch PVC
- 4 elbow connectors (for shoulders and hips)
- 1 small bolt and nut
- 3 T-connectors (for the hip and feet)
- 1 newspaper (Sunday edition)
- Masking-tape
- 1 200-foot roll Natural-colored or white paper-towels (I used about ⅓ of the roll)
- 1 8-inch styrofoam ball
- Papier-maché
- 200 feet of white crepe paper
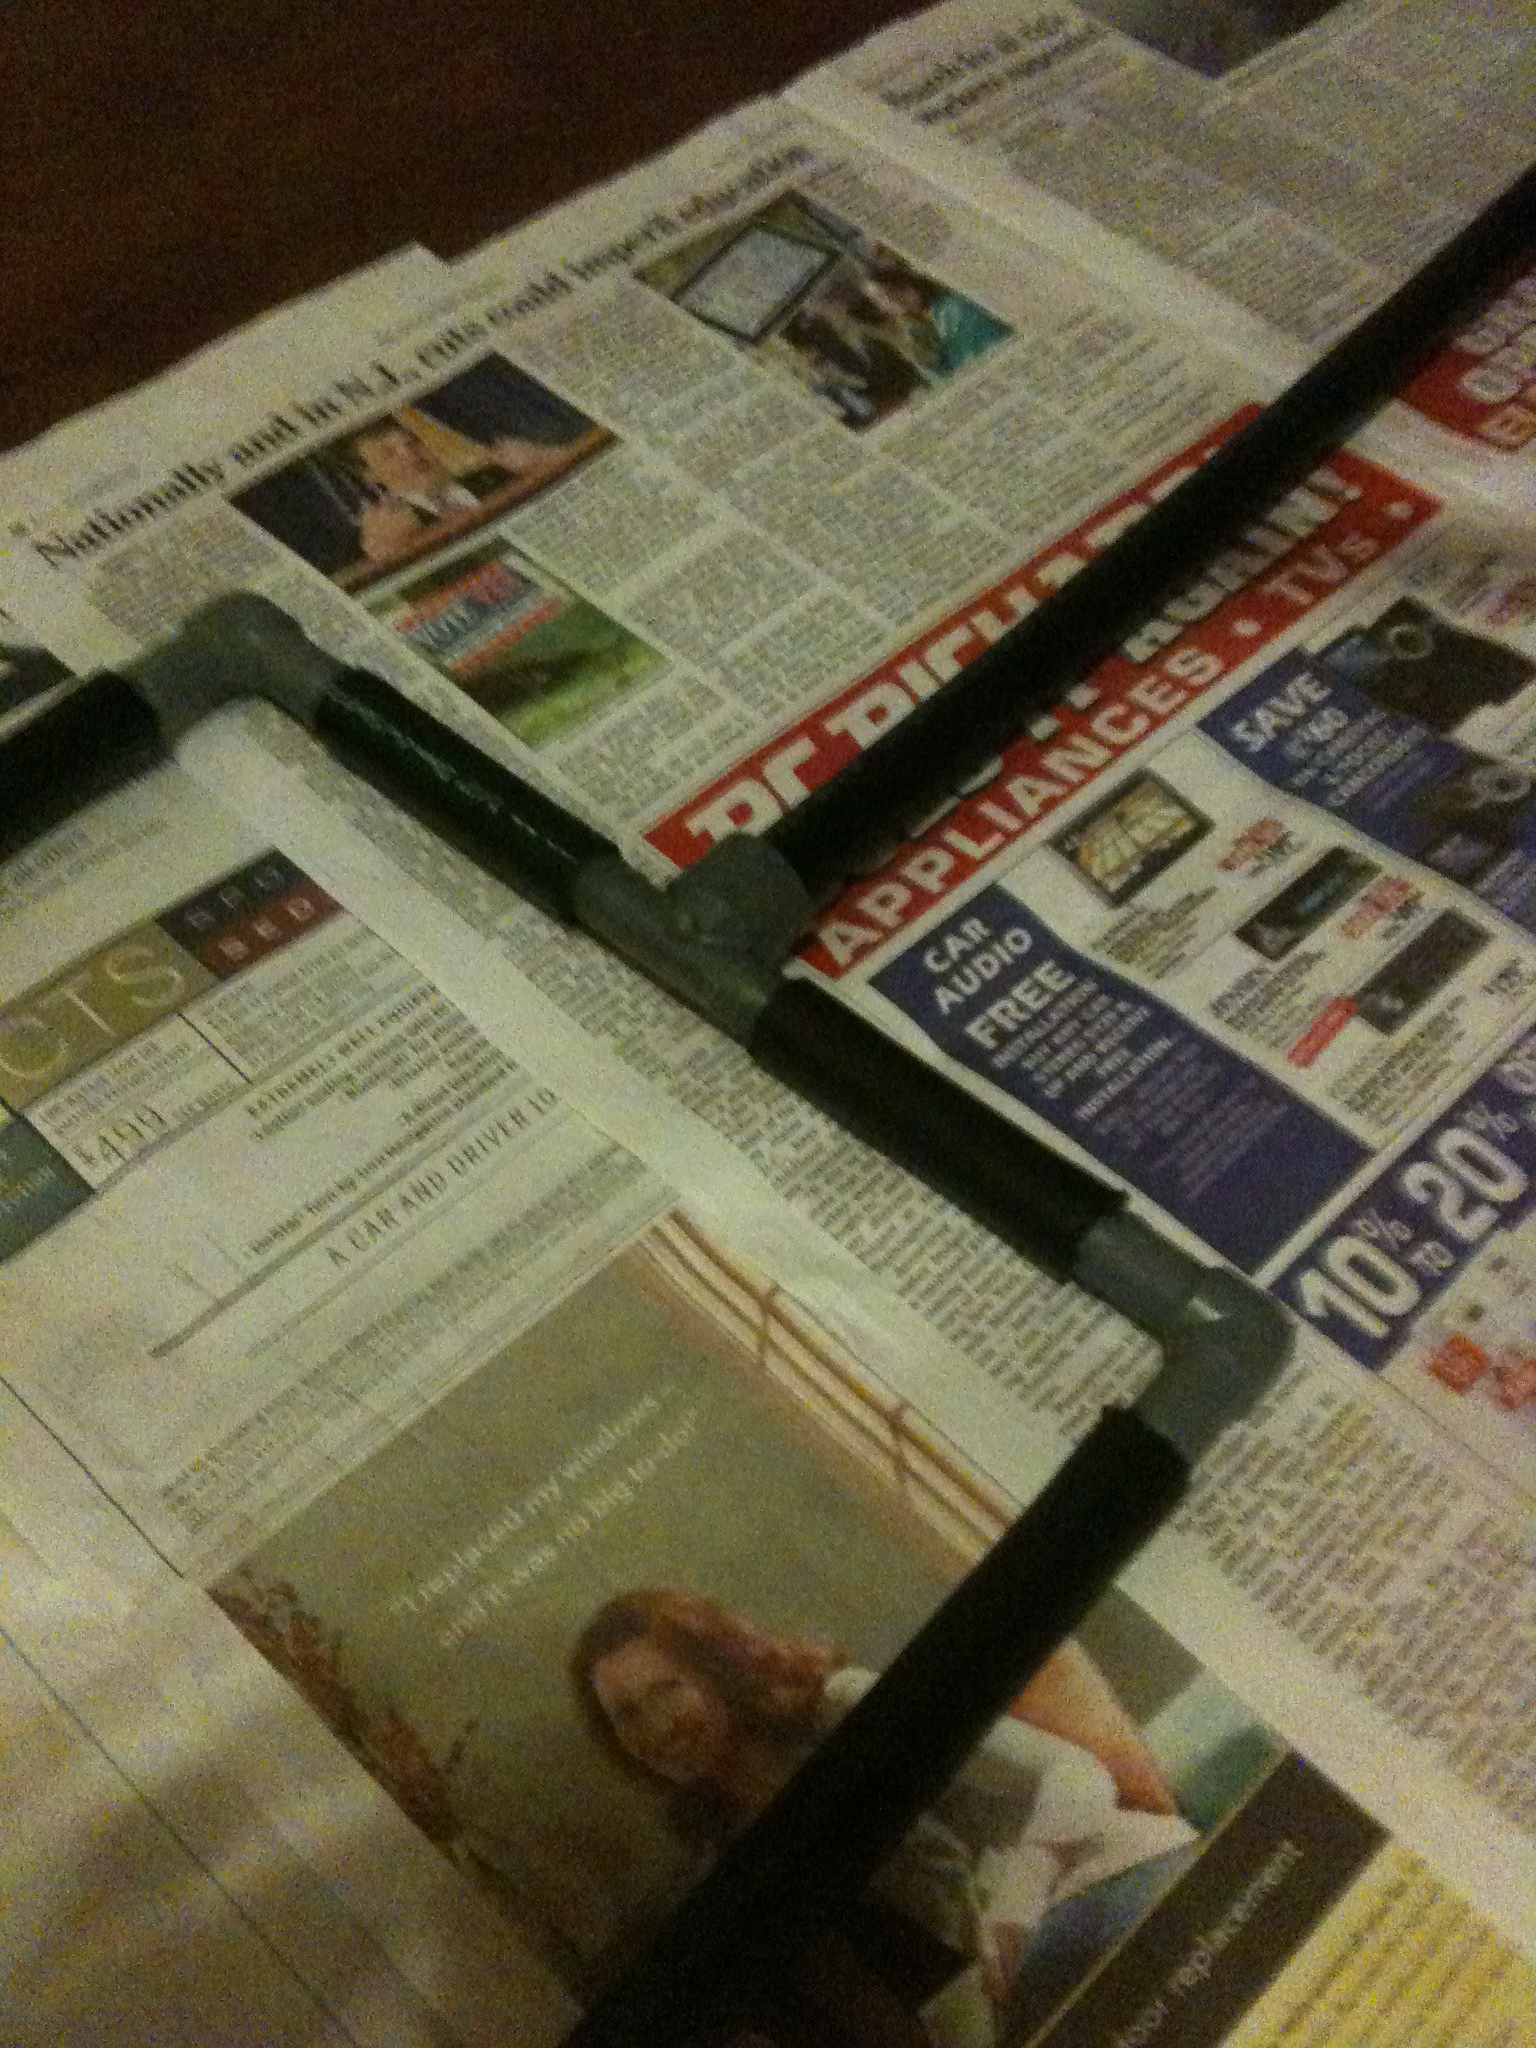
Rather than use a ruler, I used my own body to get the basic dimensions of the mummy. I used a hacksaw to cut the PVC, and a standard cordless drill for the one hole that I needed. The hacksaw and the drill comprised the complete list of tools that I needed.
I held the PVC up to my own limbs to get a measurement, and cut two to the same length. The arms, legs, hip-width, shoulder-width, and overall height of the mummy matches my own. For the elbows, I marked the location of my own elbow on the PVC and cut a notch, so that the arms could bend.
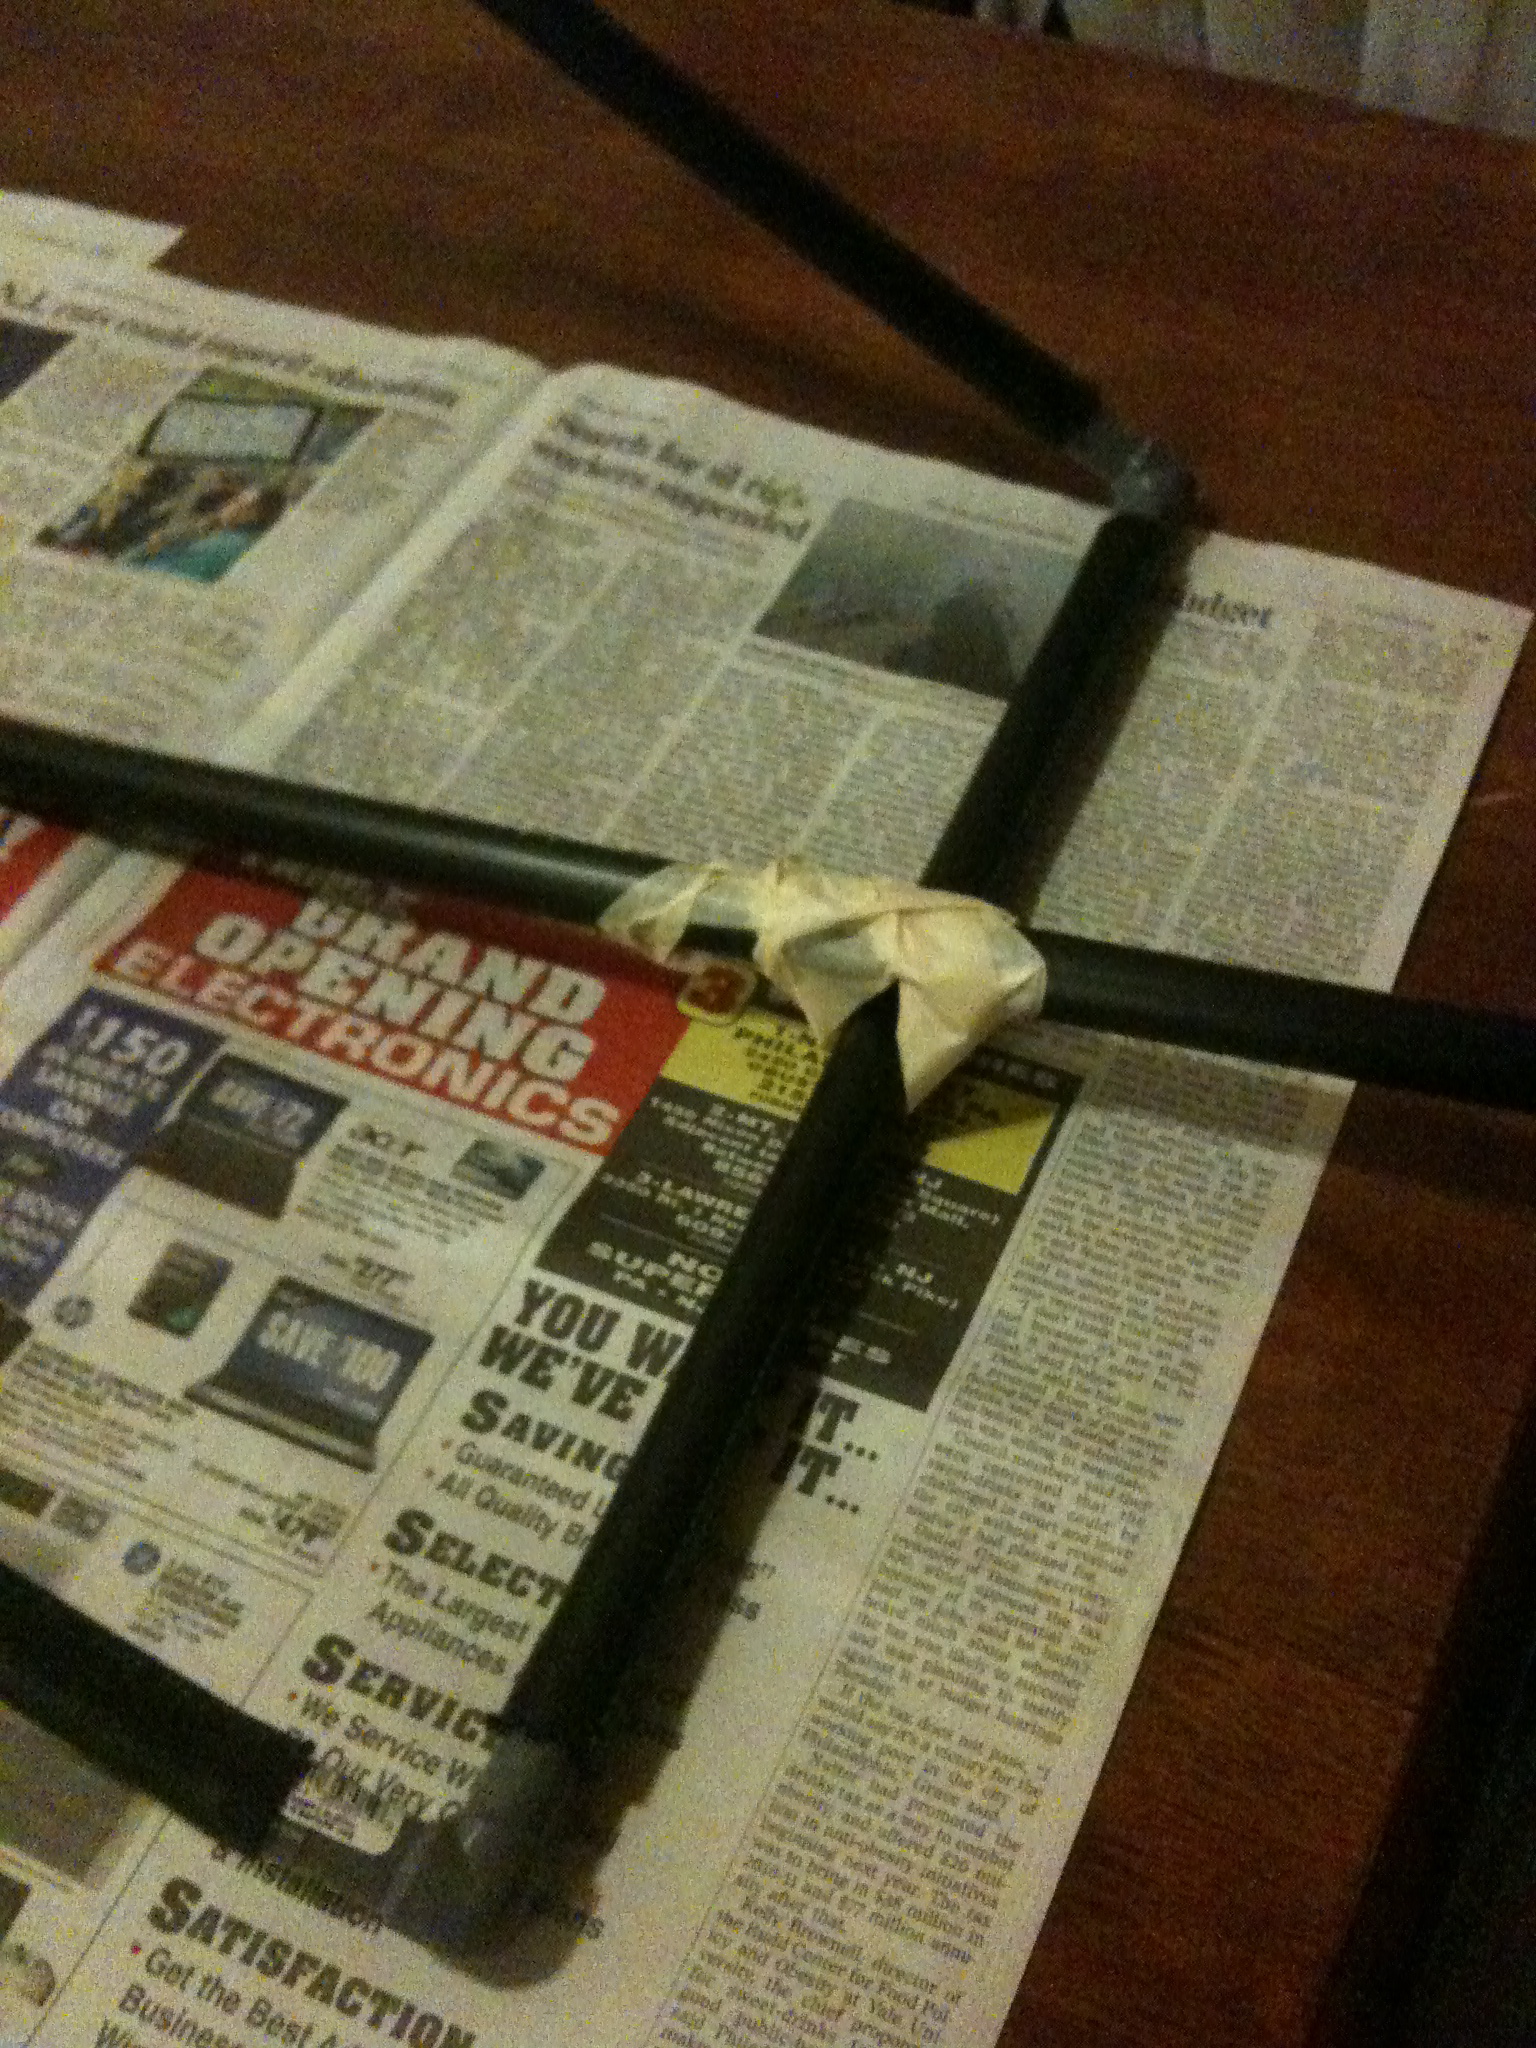
I drilled a hole in the center of the shoulder piece and another hole in the spine piece and used the bolt (and some masking-tape) to attach them—roughly at the level where the shoulders meet the arms, rather than where the shoulders meet the neck (which is a mistake I’ve seen made too often, as it seems to give the figure a permanent shrug). I attached the remaining pieces using the elbow and T joints. I used T joints for the feet to be better able to simulate a heel. This made the basic frame.
I used my knowledge of anatomy picked-up while studying Art in college to place the major muscle groups and bones using newspaper (you’ll notice the properly placed calves, thighs, patellas, gluteus, pectorals, scapula, etc.). The skull was then shoved onto the top, and newspaper fashioned the jaw. Masking-tape held the newspaper to the frame, until I could apply the papier-maché.
Papier-maché paste
- 1-part flour
- 5-parts water
- 1 Tbsp cinnamon
- 1 Tbsp salt (optional)
Begin by boiling 4-parts water. While the water is boils take the remaining 1-part water and mix it with the 1-part flour. Whisk it to remove lumps. Add the cinnamon and salt (the cinnamon does nothing but make the mixture smell nice; the salt prevents mold in high humidity areas). When the 4-parts water is boiling, begin to add the water/flour mixture slowly. Heat the mixture until it thickens—about 2 to 3 minutes. It should have a gluey consistency; feel free to add more water if you think it’s too thick. Let it cool before you stick your hands in it (I cannot stress this enough: let it cool before you stick your hands in it). Plan on at least 24-48 hours of drying time for each layer.
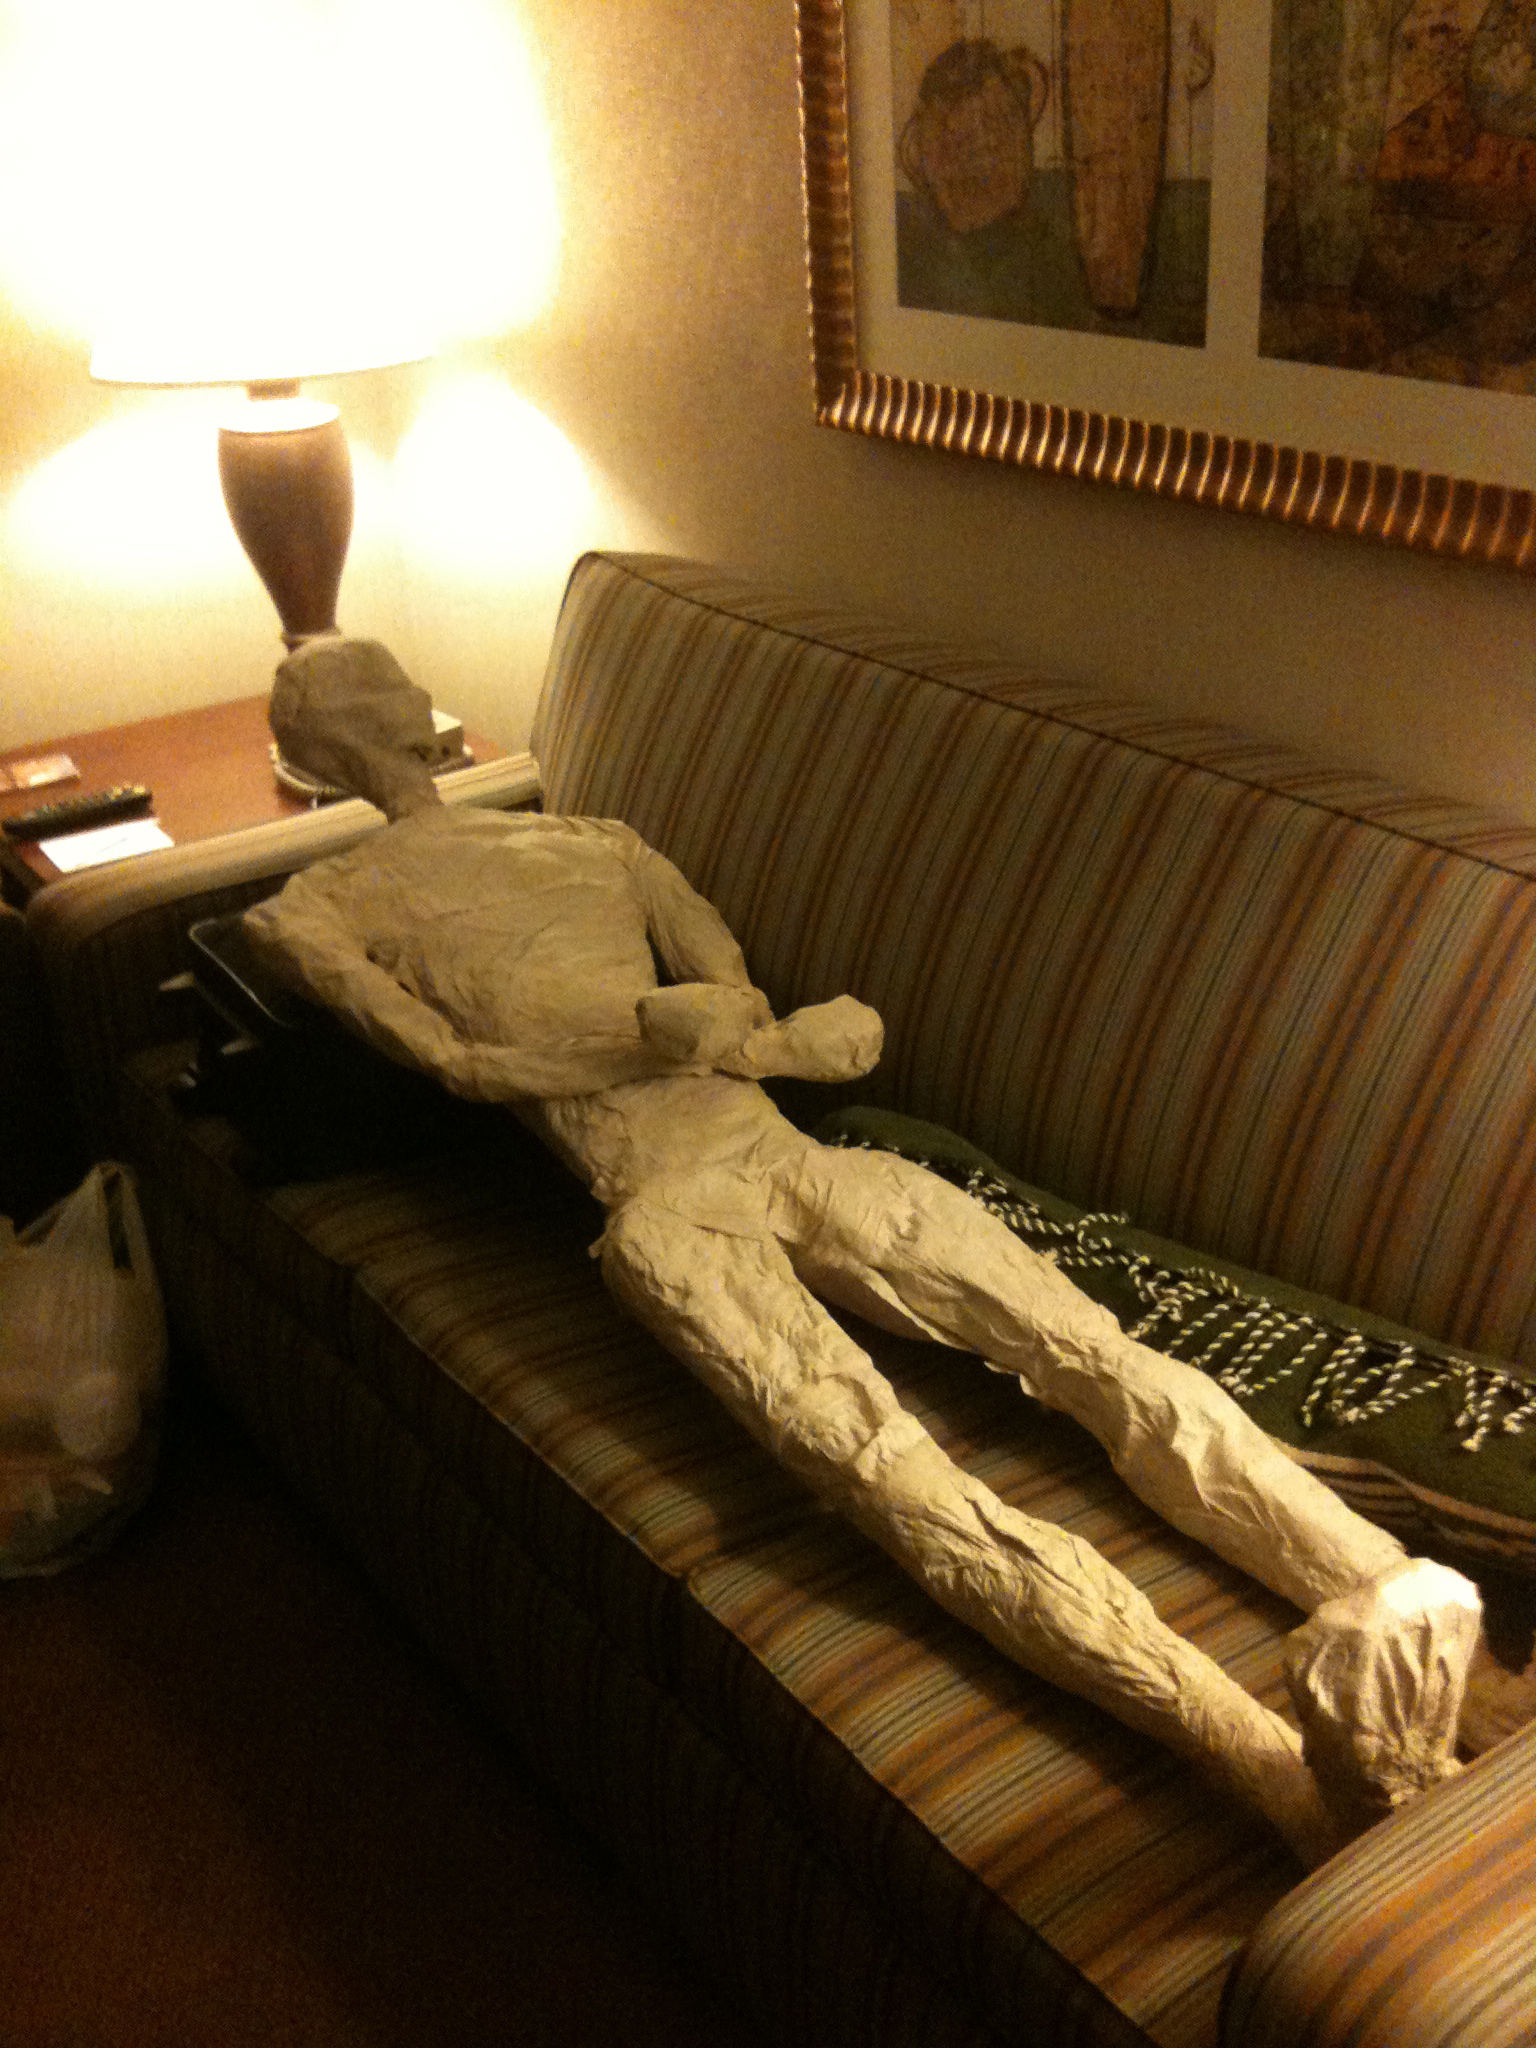
I used: 2 cups flour; 10 cups water; and 2 Tbsp cinnamon (no salt); but it was way too much for my needs by about two-thirds. It lasted, covered, for three days without any noticeable unpleasant odors or mold (this was in May weather in Pennsylvania, your mileage may vary). This formula and the use of paper-towels rather than newspaper made the mummy more flexible that I thought it would have been, which was actually useful when the time came to wrap the prizes into the mummy.


At the Fair
Jeff Mach had already received some of the items for the event delivered to him, after receiving those—about 4 hours prior to the mummy unwrapping—I went to each dealer individually to ask if they had anything to donate. All but a few did. I was actually astonished at the generosity of some of the dealers (notably Big Bear Trading Company who donated a pocket-watch). About 1 hour prior to the event I began wrapping the prizes into the mummy with the crepe paper.
At the event
The event was well-attended, very well-received, and everyone had a good time. I’ll be posting the video of the event (after I’ve finished editing it down to 15 minutes).
Had I to start over again
I plan to do it again next year, and reuse the same mummy, but since you may be starting from scratch… I would have begun building the mummy sooner. I would have liked to put on another layer of papier-maché and add some fine details (nose, mouth, and eyes), but I didn’t have time. It took about 24 hours per layer to dry (in dreary, rainy conditions, using a fan).
Also, I think I should have either wrapped the prizes into the mummy an hour earlier, or I should have wrapped it before-hand using numbered tickets, rather than trying to wrap the prizes into the mummy (to prevent the last minute rush that I had).